


Securing Your iPod / Tablet On-Wall VidaMount
![]()
Securing Your iPod / iPad Tablet On-Wall VidaMount
Question: Can we modify / change our non-secure on wall tablet enclosures / mounts into a secure design?
Answer: YES - we can secure our easy to access on-wall tablet mount! A general guide is detailed below!
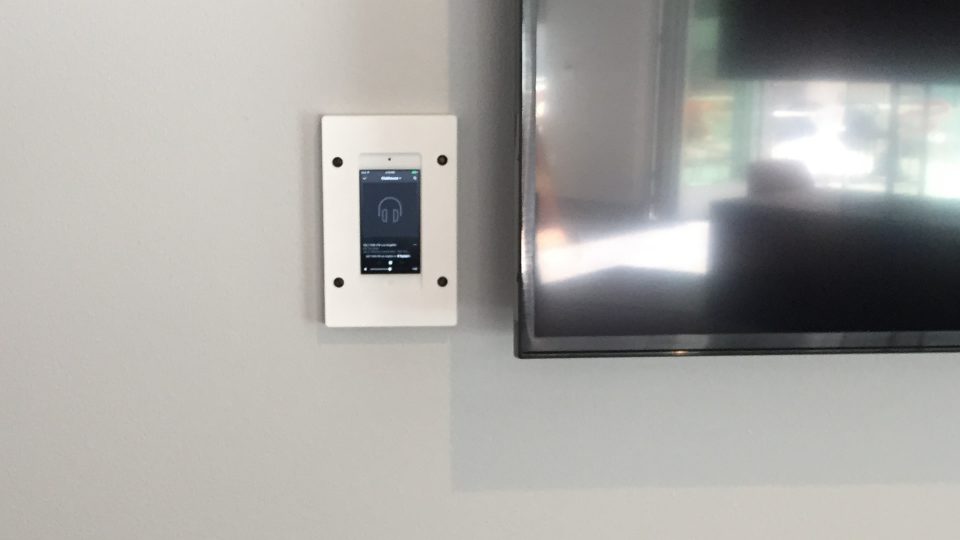
Our on-wall tablet mounts have a slim profile, mounts flush against the wall, on a variety of surface - so no wonder it's one of our most popular products! However, many installations require security and theft-deterrence - making this mount with easy tablet access an unsuitable choice if we must have security out of the box - but there is an easy way to add security and tablet theft-deterrence - while we enjoy this design's slim and flush mounting aesthetics! Learn how below:
A few of our professional installation clients came up with this simple, yet ingenious idea of securing their iPod on-wall slim mounts. The concept works the same way on our larger iPad wall mounts / Samsung Galaxy Tablet mounts / Microsoft Surface tablet mounts / Amazon Fire tablet mounts - here is a step-by-step overview of how to modify, install, and secure these setups:
Step 1: Install the iPod / iPad / Tablet On-Wall Mount
To start, the first step is to follow the instruction manual which comes with our On-Wall VidaMount. In this example set of photos, we'll be installing the smaller, iPod version (the concept for securing larger iPad / Samsung Galaxy / Surface tab / Amazon Fire on-wall slim mounts remain the same.) Once properly installed, the modification to turn it into a secure design is simple and easy make.
Step 2 : Drill Pilot Holes on the Cover Plate
First, before making any further modifications - remove the iPod / iPad / tablet from the mount. This reduces the chance of any damage done to the device accidentally by the drilling tools being used.
To secure the face plate, we recommend a minimum of (4) anchoring points - one on each of the (4) corners of the front face of the enclosure. This will prevent unauthorized persons from lifting any of the (4) corners of the cover, and trying to ripping the secured cover off the base.
- To get started, remove the cover from the assembly, and turn the it over so that the inside (snap button side) is facing you.
- Next, gently but firmly drill four small pilot holes close to each of the corners. Be careful not to drill into the snap button cut-out nor snap button itself.
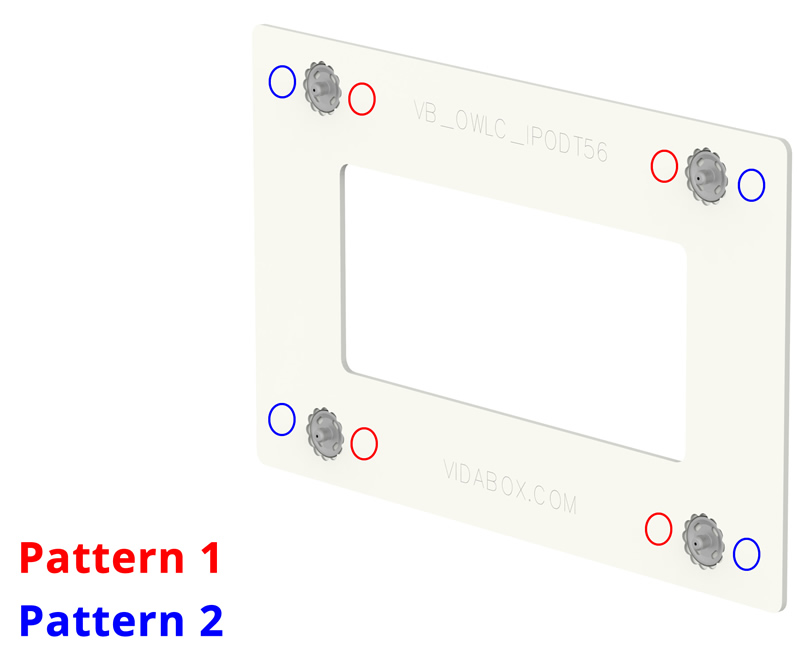
- There are two optimal locations for the security screws and the pilot holes for them. See the example illustration below.
There are two possible sets of pilot hole locations.
The (2) options are:
- Pattern 1 (RED), and
- Pattern 2 (BLUE)
Step 3 : Drill Pilot Holes into the Base Piece
Next put the cover back onto the base piece and make sure they are snapped together tightly. Once aligned and snapped together, we should be able to use a pen or pencil tip, and mark off where the drilled pilot holes on the cover plate would line up on the Base Piece. Then, remove the cover and drill the (4) pilot holes marked on the base piece.
The example picture below shows Pattern 1 being drilled in. Pattern 2 could have been drilled as well.

Step 4: Self Tapping Screws
After all the pilot holes have been drilled, it is time to put the iPod / iPad / tablet back into the mount and test its fit. Place the device correctly into the On-Wall mount and snap the cover into the base. There should be no issues in installing the iPod / iPad / tablet back into the mount.
Finally, we can install self tapping button head screws into the pilot holes. These self-tapping button head screws would secure and prevent removal of the face plate.
Important: Standard "machine" screws cannot be used and will not work, as a screw has to be a "self-tapping" screw to create / cut / make the thread that goes into the base piece and secures the parts together.
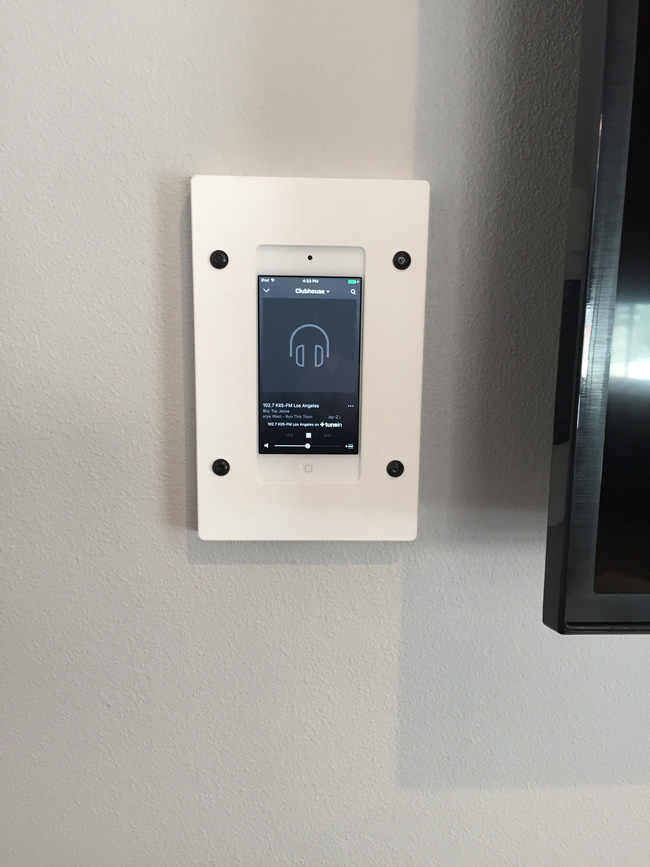
Once completed, you should have a finished setup looking like this picture below.
Hint: For a cleaner look, the screw heads can be painted, or screw heads w. matching color schemes can be purchased for a seamless look.
More than one way
Our suggested steps & methods of securing the front face plate is the only way securing a mounted touch panel / iPod / iPad / tablet into our mount. Rather than drilling pilot holes, some installers and clients have used jog / machine to punch holes into the parts and accomplish the same end result / as compared to drilling a pilot hole. The exact installation steps may vary a bit, but the processes will be similar.
A Secure iPod / iPad / Tablet Mount
Once we're finished, it is now time to breathe easy - knowing we now have a secure touch panel mounted onto our wall!


